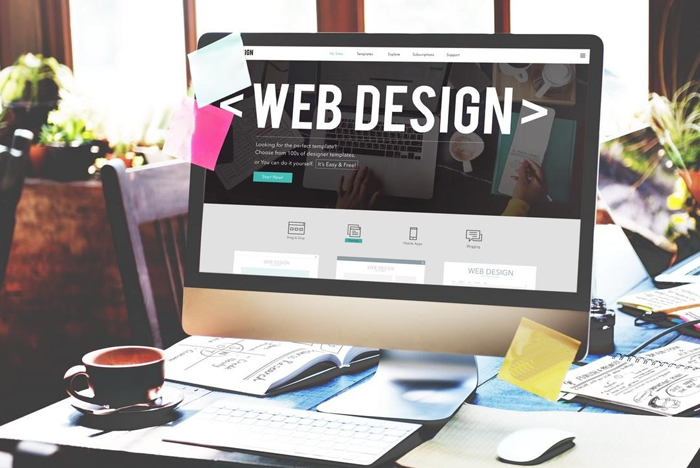
In a world where images play a vital role. It is very important to make sure that the website design is using images that are optimized for the best user experience.
Images should be clear, concise and easy to understand.
They should be able to load quickly so that users don’t have to wait long for them to appear on screen.
Image optimization is an important part of creating a positive experience on a website.
There are few things one might do to optimize the images for the website designing.

Optimizing website design images ensures they enhance, not hinder, user experience.
The following things will show how to make the site faster and more profitable with simple changes.
Here’s a guide to make website design faster in all aspects.
1. Use content delivery network –
A content delivery network is a network of servers that spread across various geographic networks.
These servers work together to deliver media assets , such as website videos and other website design content to users based on their geographical location.
Utilizing a CDN may significantly improve your website page load times by serving content from a server that is near the user, reducing latency and improving the overall user experience.
This is particularly beneficial if the website caters to a global audience as this helps to ensure worldwide users may access your content quickly and efficiently.
2 . Benchmark the current website speed –
Before one does all work to optimize the images one might start a speed test on the site.
By the end one will be able to see the impact one has made .
Some popular speed testing tools are –
WP engine Word press Website Tester.
1. Google page speed insights.
2. Pingdom Tools.
3. GT Matrix.
4. Webpage Test.
These browser based tools work similarly.
If one opens the link, enter the URL and one might submit it with a quick report about the site speed and performance.
WP engine Website Tester is specifically designed to analyze the performance of wordpress sites , thus providing correct information about the site’s current performance as well as actionable insights for improving it.
When one enters the site URL and the email address into the Website Tester it will definitely break down the site performance in about a minute in the screenshot above for example there is clearly room for improvement from page speed and loading accuracy perspective.

3. Know how to make a decision to choose the best image file –
When one is done creating images one might have the option of specifying the images .
The most common file types for use on the web are JPEG,PNG, and GIFS.
One should guess that one has their pros and cons and best practices when being placed on your website.
This file type works for the majority of images one wants to use on the site with one major exception: images with a transparent background.
When using a JPEG image for your website one might regard it as ‘’ Progressive”.
This allows the browser to just quickly load a simple version of the image before fully loading the full resolution into the site.
If one is working in Photoshop one will find the setting when one exports ‘’ Save for Web.
PNG – If one doesn’t have a ton of color in the image or if one wants to have a transparent background one might export it as PNG.
One might recommend exporting as PNG.
One might be sure that one has the right image dimension and look for the option to save as PNG 24.
GIF – GIF is the third most common image format for the web.
However they only support 256 colors so one will have to be selective with this file type.
IF one wants to optimize GIFs for your website design one should think critically about how long they last if they need to be cancelled and how many one need on a given page and site.

4. Resize the images –
One of the easiest ways to optimize images for the web is to resize them before one uploads them to the site.
If one is working with raw images from a DSLR camera the dimensions are much larger than one needs.
If one is adding images to blog articles on the site.
If wordpress theme displays images with a resolution of 1024*1024 all those extra pixels just increase the file size and decrease site speed without providing a real benefit.
By cropping or resizing your images before uploading one might decrease the file size and decrease the file size, which will help the site load just a little bit faster and save the disk space for even more images.
To resize your images one might open the image editing software of one’s choice.
Photoshop works well or one may use simpler tools like Preview, Paint, or Canva.

5. Compress images to reduce file size –
Once one has arranged the final image in the right format and cropped an appropriate size there is one more step one might take to optimize it before uploading it into the site.
This process will help to make the file size smaller without losing much image quality.
There are two main types of compression: lossy and lossless.
Lossless compression will maintain the same level of quality before and after compression.
Lossy compression will discard some elements of the photo but it will be in a way the human eye will not notice.

6. Add Alt Text to the images –
Alt text plays a crucial role in optimizing the images for better website performance.
One might use descriptive alt text for the images not only improves accessibility for visually impaired users but also helps search engines understand the context of the image and index them correctly.
This inturn may improve the website search engine and thus increase search results.
Additionally, optimized images with descriptive alt text can enhance user experience by helping users understand image content, with no impact on website design.

To Learn More About Website Design, Join MAAC Kolkata Today & Make An Awesome Career.
@9836321595 MAAC CHOWRINGHEE
@9836321789 MAAC RASHBEHARI
@9830390356 MAAC ULTADANGA


